My Old House: Where painting is an art form, even without a canvas
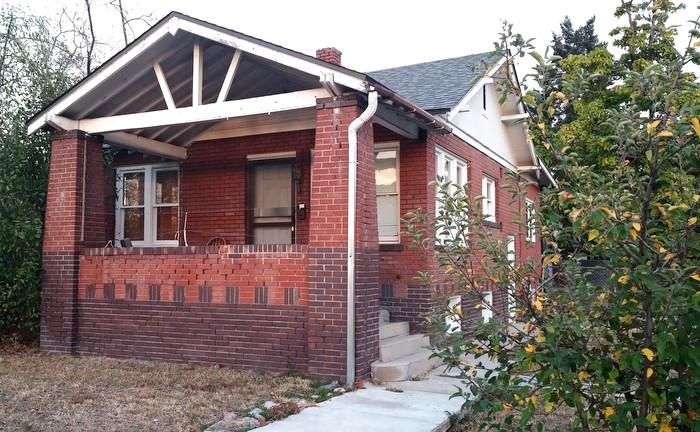
Image via Carolyn Jarvis
The exterior of Carolyn Jarvis’ house, a 1924 bungalow.
![]()
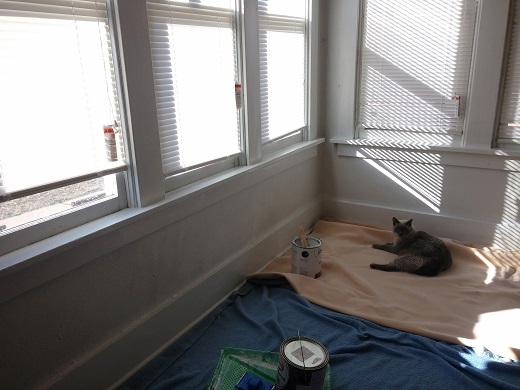
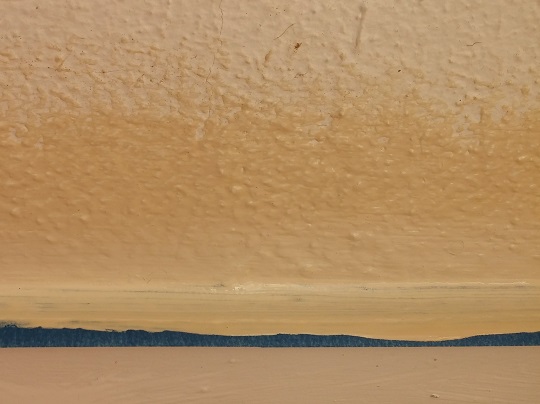
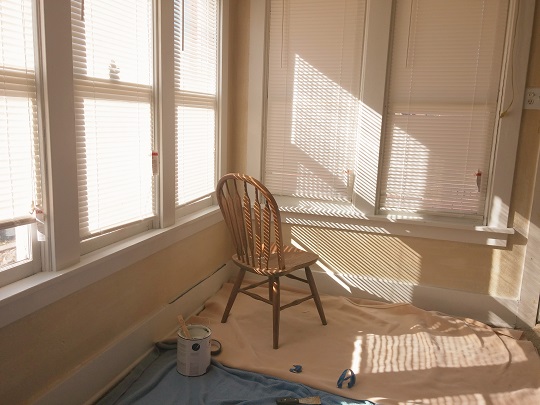
Before the trim–it’s good to have a helping friend
Painting is not always a fun task. It seems to take forever and doesn’t always look great a few steps in.
However, if you’re using the right methods, you’ll never have to worry about ending up with a less-than-satisfactory finished product.
Today, I am supplying you with three ways to ensure that your painting project will have the cleanest lines.
Method One – tape (this is the classic way)
1. Clean those dirty walls of yours! Dust, grease and cobwebs aren’t going to look better under one or two layers of paint (unless you’re looking for a 3-D effect). Put down a tarp or old blankets.
2. Tape the trim! Place the tape as tightly as you can to the edge of the wall.
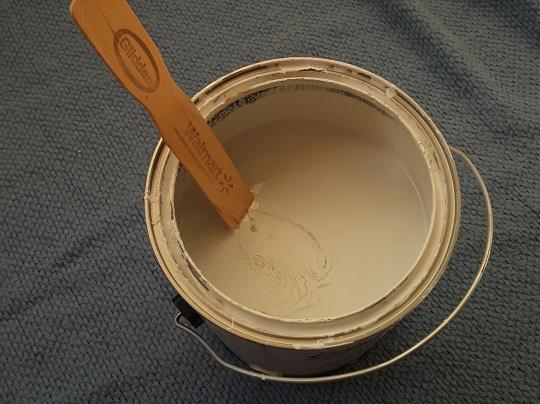
3. Mix your paint, pour it in a tray and get to work.
4. It’s fine to make mistakes. That’s what the tape is there for. It’s very forgiving and will understand when you accidentally hit it with the paint.
5. Paint the other parts of the wall and then wait a couple hours for it to dry. It is always best to paint in a 3-by-3 foot “w” form.
6. Put on a second coat if you need, but don’t let it dry fully!
7. Slowly pull up your tape while the paint is slightly wet. You want to avoid accidentally removing any dried paint along with it.
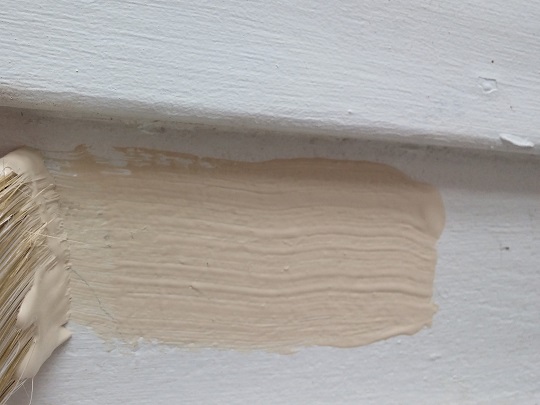
Method two – angled brush
1. Make sure your wall is clean and your floor is covered and safe. (My house came with unlimited haunted blankets so I’m unsure how safe the floor actually is.)
2. Mix your paint and pour it into a tray.
3. Now you’re going to want to generously paint a strip about 2-3 inches from your trim.
4. Turn your brush on an edge to make a point and while drawing paint from the stripe you’re going to pull down in a steady, smooth line. (It sounds easier than it actually is.)
5. Paint the other parts of the wall using a 3-by-3 foot “w” form.
6. Let it dry and repeat all steps again if the paint is not as opaque as you wanted.
Method three – paint edger
1. Wipe down your walls. (Halloween is over and those cobwebs need to skedaddle.)
2. Mix your paint and pour it into a tray.
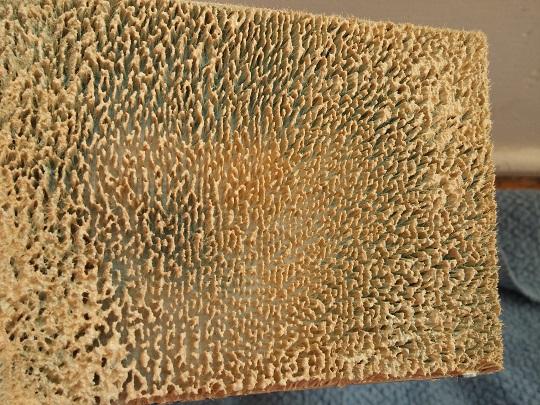
3. Take out your paint edger. Paint edgers can be found anywhere you buy paint and are generally affordable, retailing under $5. Sometimes the bristles will peak over the plastic. If this happens, you will want to just trim off the top bristles with a pair of sharp scissors. Just the bristles not the plastic.
4. Paint the edger with a brush. Sometimes dipping directly into the paint can cause over saturating it and cause seepage when you are applying the paint to the wall.
5. Place the edger where the trim and wall or wall and wall meet. Starting from one side of the wall (depending on what hand you’re comfortable using), gently glide the edger from one side to the other.
6. Using a 3-by-3 foot “w” form, paint the rest of your wall.
7. Let dry and repeat if needed.
You’re done! I bet the finished product was well worth the hassle. It was for me at least.
I don’t think any of these ways is better than the other. It’s completely up to your preference. However, I use the edger the most because it saves me time and money, not having to tape, and it is a little bit faster than the brush.
All done!

Carolyn Jarvis is a sophomore majoring in Journalism. Her biggest goal is to transfer to Metro State in the summer and finish up her bachelor's in the same field.
In her free time, she enjoys many hobbies like writing, digital photography,...