Hello Chefs,
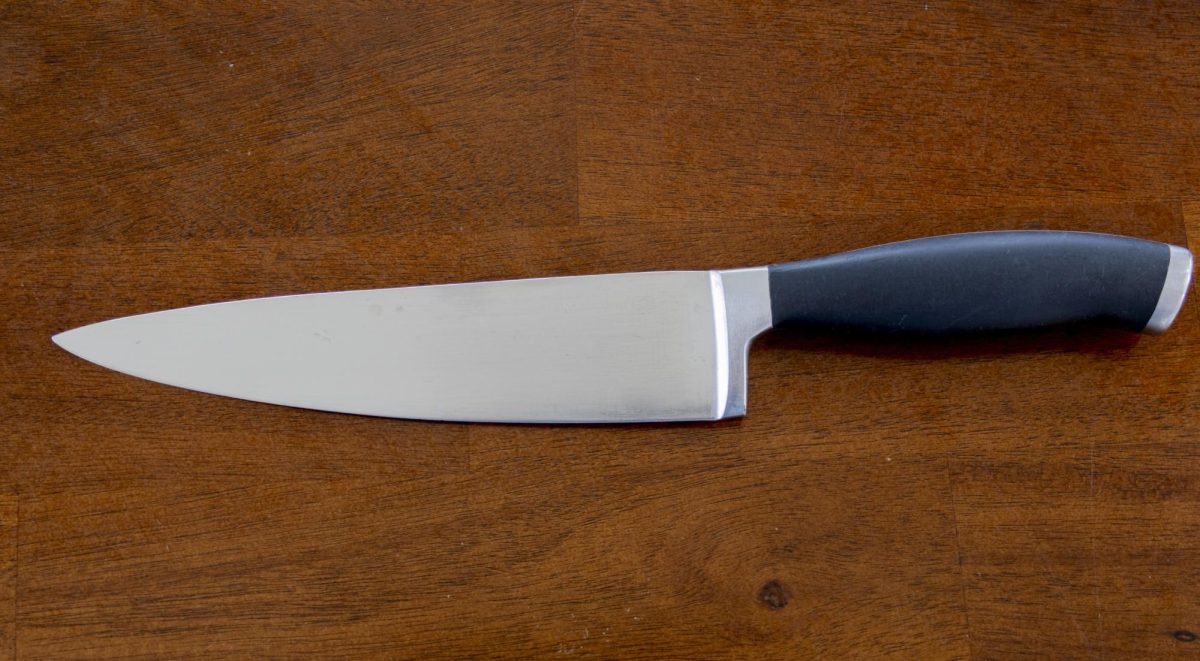
Equipment and safety are paramount to a successful kitchen; perhaps no piece of equipment bears more weight than your knife. A good blade is the difference between uneven strips of onion and perfect juliennes, or a juicy cut of steak and a jagged, dry mess.
There are many types of knives, and as you learn to cook, you will acquire an arsenal, each with its own purpose. There are butcher knives that can split bone, paring knives that can create stunning detail, and dozens more that can lend their unique form to your kitchen.
The best knife to start with, however, is the chef’s knife. This utility knife is used in kitchens worldwide and developed in the European culinary tradition. You’ve likely seen it everywhere, from Gordon Ramsey videos to your grandmother’s kitchen while she makes your favorite meal. Its steep rocking angle and tipped point are ubiquitous in modern kitchen practices.
You’ll want to get yourself a reasonable knife. You don’t need to drop hundreds of dollars for your first addition, but you don’t want to end up with a cheap blade that can’t hold its edge for long. “Cooking with Babish”, a phenomenal YouTuber, has his line that can set you up with a solid budget knife for around $30: check it out here.
Keeping your knife sharp is a two-step process: honing and sharpening. Honing needs to be done in between tasks and will keep your blade nice and tuned between sharpenings. The latter process is a bit more difficult and not for everyone, though it can be very meditative, if you ask me. That being said, there’s nothing wrong with finding a good, reliable sharpening service and having your blades professionally sharpened once or twice a year.
To use your knife properly, follow these tips.
Grip your knife: Proper knife grip involves pinching the blade’s heel (the knife’s spine just past your handle) with your thumb and the side of your index finger. Your other three fingers wrap around the handle gently.
Keep your fingertips behind your knuckles: Your other hand holds down the food as you cut it. Curl your fingers so the tips are behind your third knuckles and the space between your second and third knuckles is a flat surface. Your blade will be using this as a guide. Never lift the knife above your second knuckles or put your fingertips under the blade.
Rock the knife (don’t rock the knife over): The curved edge of your blade is there for a reason! Practice rocking the knife on the cutting board rather than chopping. Not only is this much safer, but it will also give you more accurate cuts. Chopping will always be there for you, but learning how to rock will improve your overall knife skills.
Here’s a great video on basic knife skills.
Caramelized Onions
Do you have an hour or so to kill? Do you want a delicious addition to any sandwich, dip, or savory meal? Do you want to potentially wow your friends and love interests with fancy buzzwords? Well then, caramelized onions are for you!
This super simple delicacy elevates almost any meal with a delicious and distinct flavor. Anyone can make them, even in large quantities, and throw them on anything and everything for the next week.
Cut your onions: Take a good amount of yellow onion and julienne them. Pro tip: How thick you cut it is entirely up to you. Thick or thin, it will be delicious either way; they will just have different textures. Try it out a few times at different widths to see what you like. Just keep in mind that thinner onions may only take around fifty minutes on low to carmalize, while thicker ones can take up to eighty minutes.
Sautéing: Cook your onions on medium-high until they start to brown and become translucent. Make sure you do this with some form of fat, such as olive oil, butter, or tallow, whatever you prefer. It will take some practice figuring out how much fat to use in each batch; it depends on a wide array of variables, from cooking temperature to pan size. Start with just enough that the fat glides over your pan freely when heated, and adjust from there,
Carmalizing: Turn your temp down to medium low and let those bad boys cook for around an hour. If the pan starts to dry, feel free to add a little water (or fat if you’re into that sort of thing) and keep an eye on them until they become delicious strips of sweetness. If you are feeling extra cozy, you can throw all of these ingredients in a slow cooker and let them go for 12 hours or more for a stress-free variant.
This super simple recipe will give you a lot of practice with knife skills and patience (Two of the most critical skills in the kitchen). Next week, we will look at the other fundamental piece of equipment in your kitchen: pots and pans!
Keep cooking!